
DIY Car Detailing: Professional Techniques for Home Use
FP
Introduction to DIY Car Detailing
There's nothing quite like the satisfaction of seeing your car gleaming as if it just rolled off the showroom floor. While professional detailing services can achieve this effortlessly, you can also reach similar results from the comfort of your own driveway. With the right techniques and tools, DIY car detailing can be both rewarding and cost-effective.
Gathering the Essential Tools
Before diving into detailing, it's important to gather the right tools. Here is a basic list to get you started:
- Microfiber towels
- Car wash soap
- Wax or sealant
- Clay bar
- Interior cleaner
- Vacuum cleaner
- Detailing brushes
These tools will help you tackle both the interior and exterior of your vehicle with professional-level results.
Mastering the Art of Washing and Drying
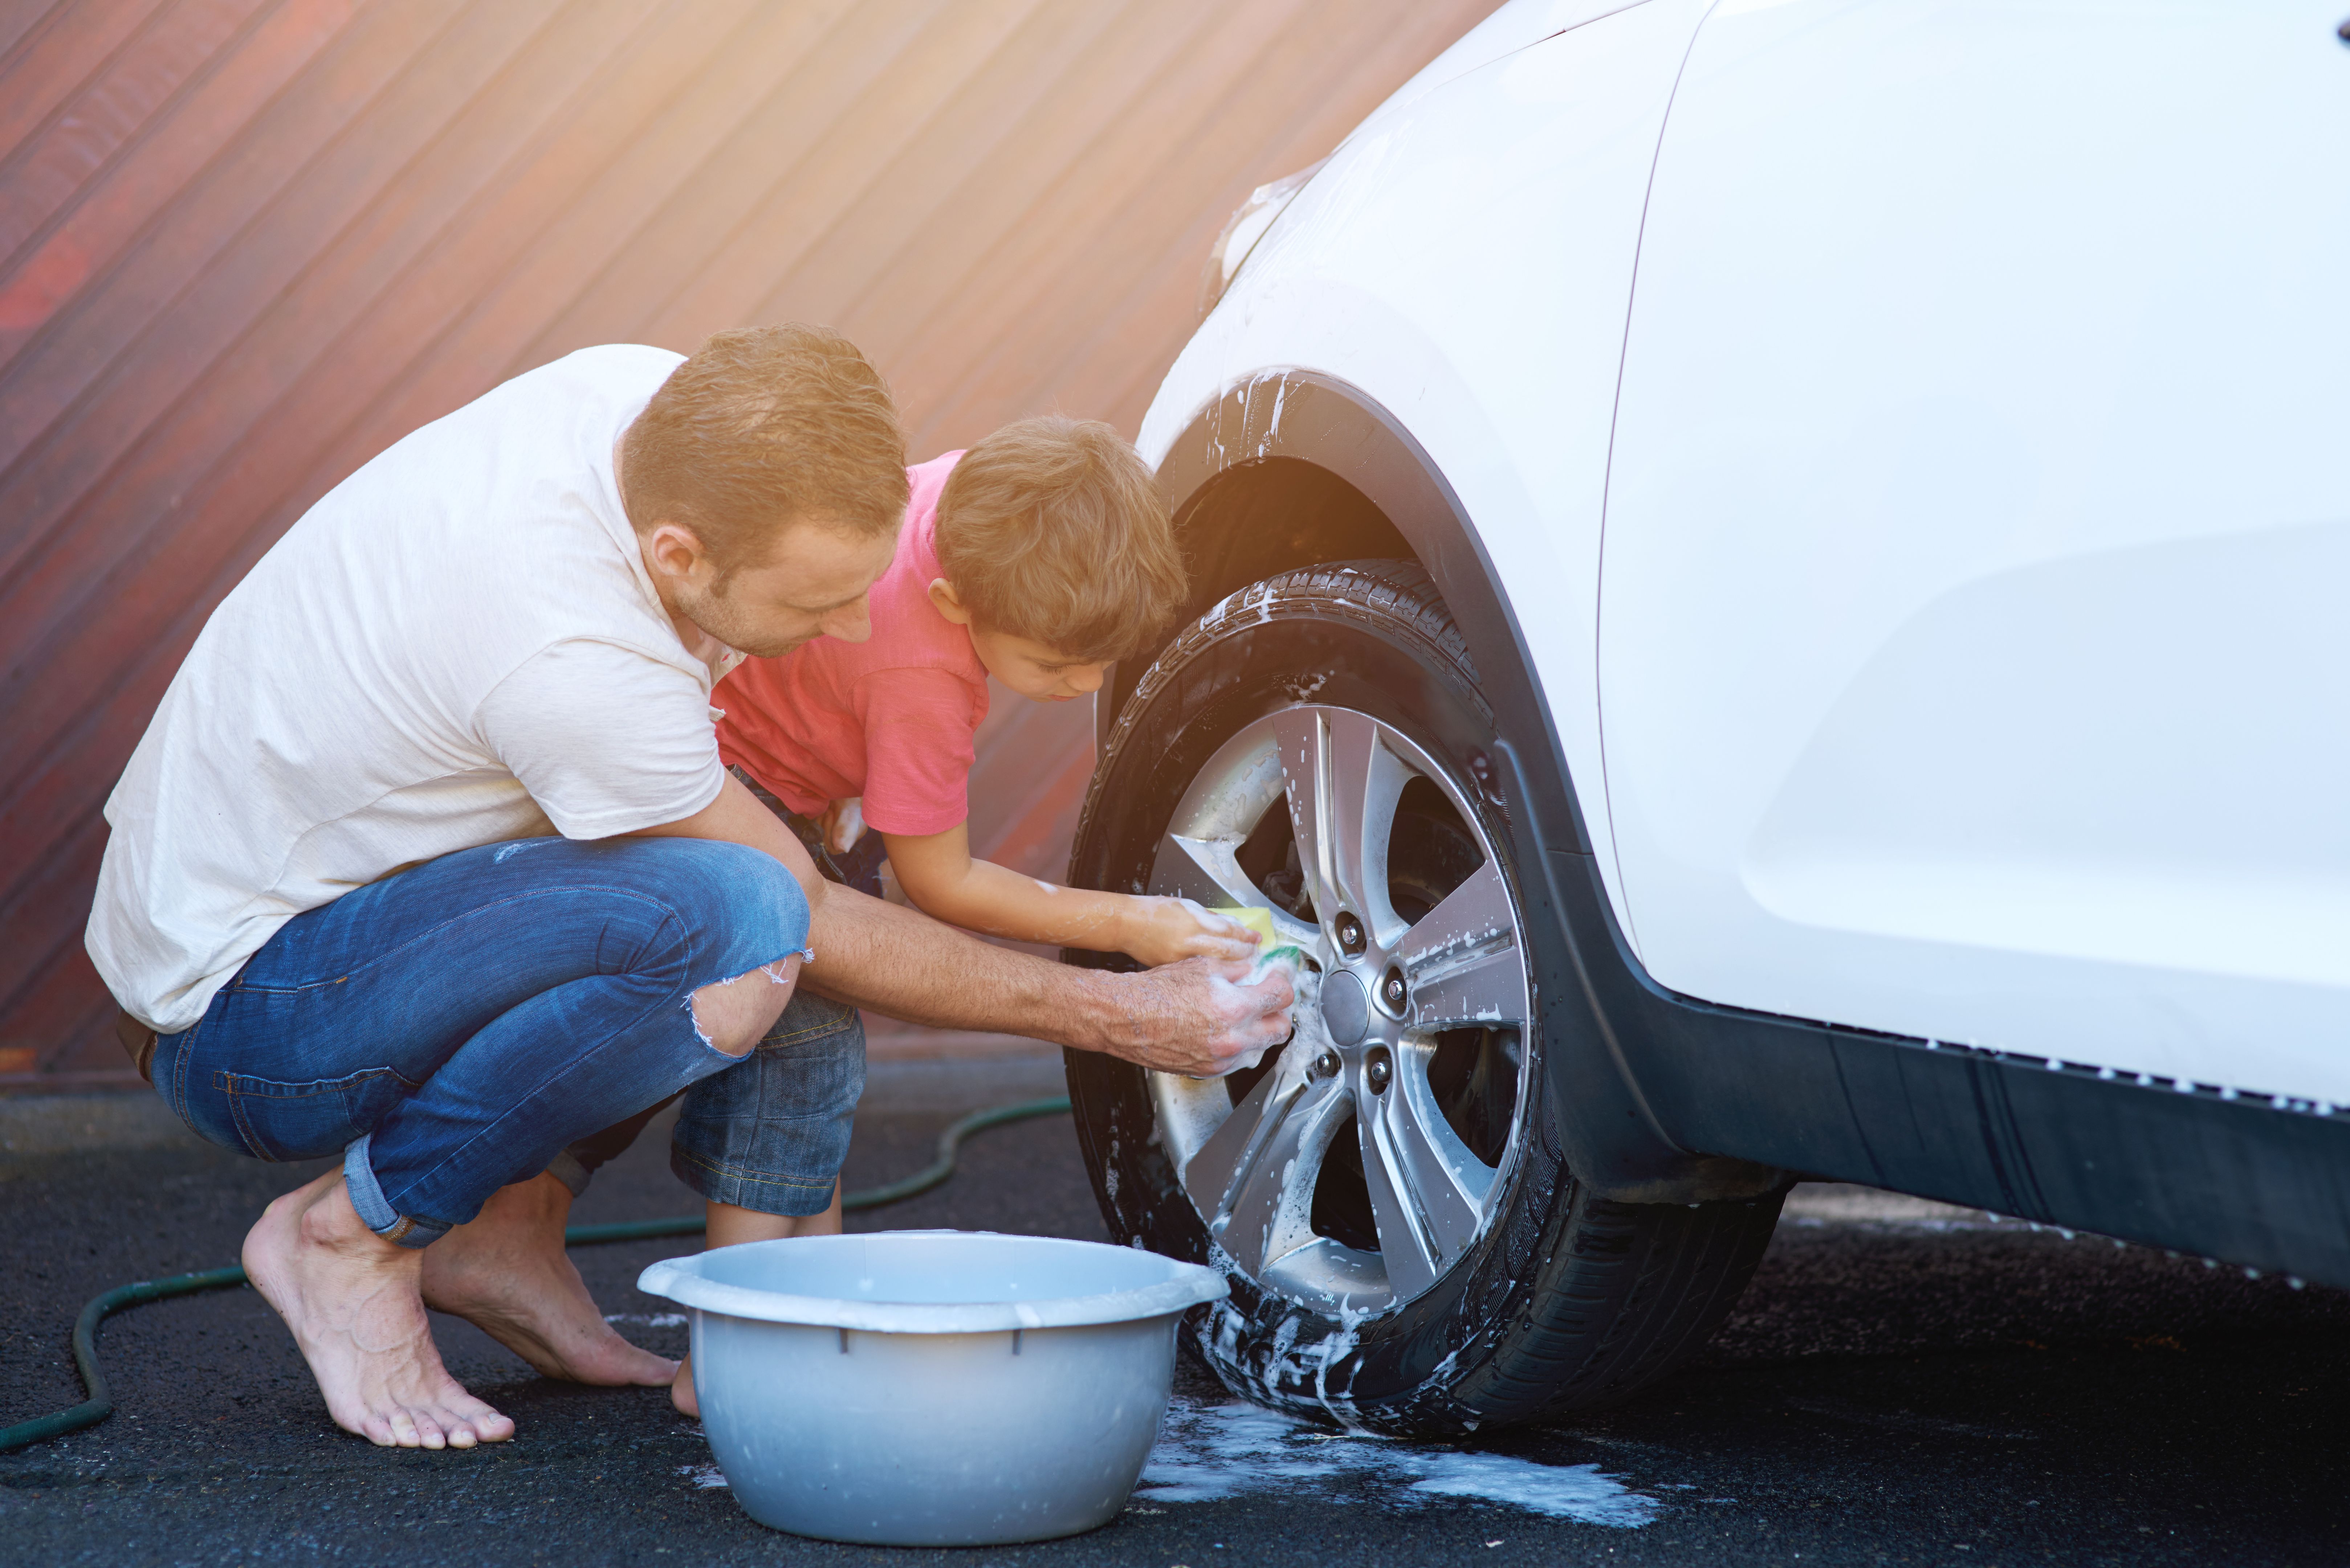
The first step in car detailing is a thorough wash. Use a high-quality car wash soap and a soft sponge to avoid scratching the paint. Start from the top and work your way down, rinsing frequently. Remember to use a separate bucket for rinsing to keep dirt and grime away from your cleaning solution.
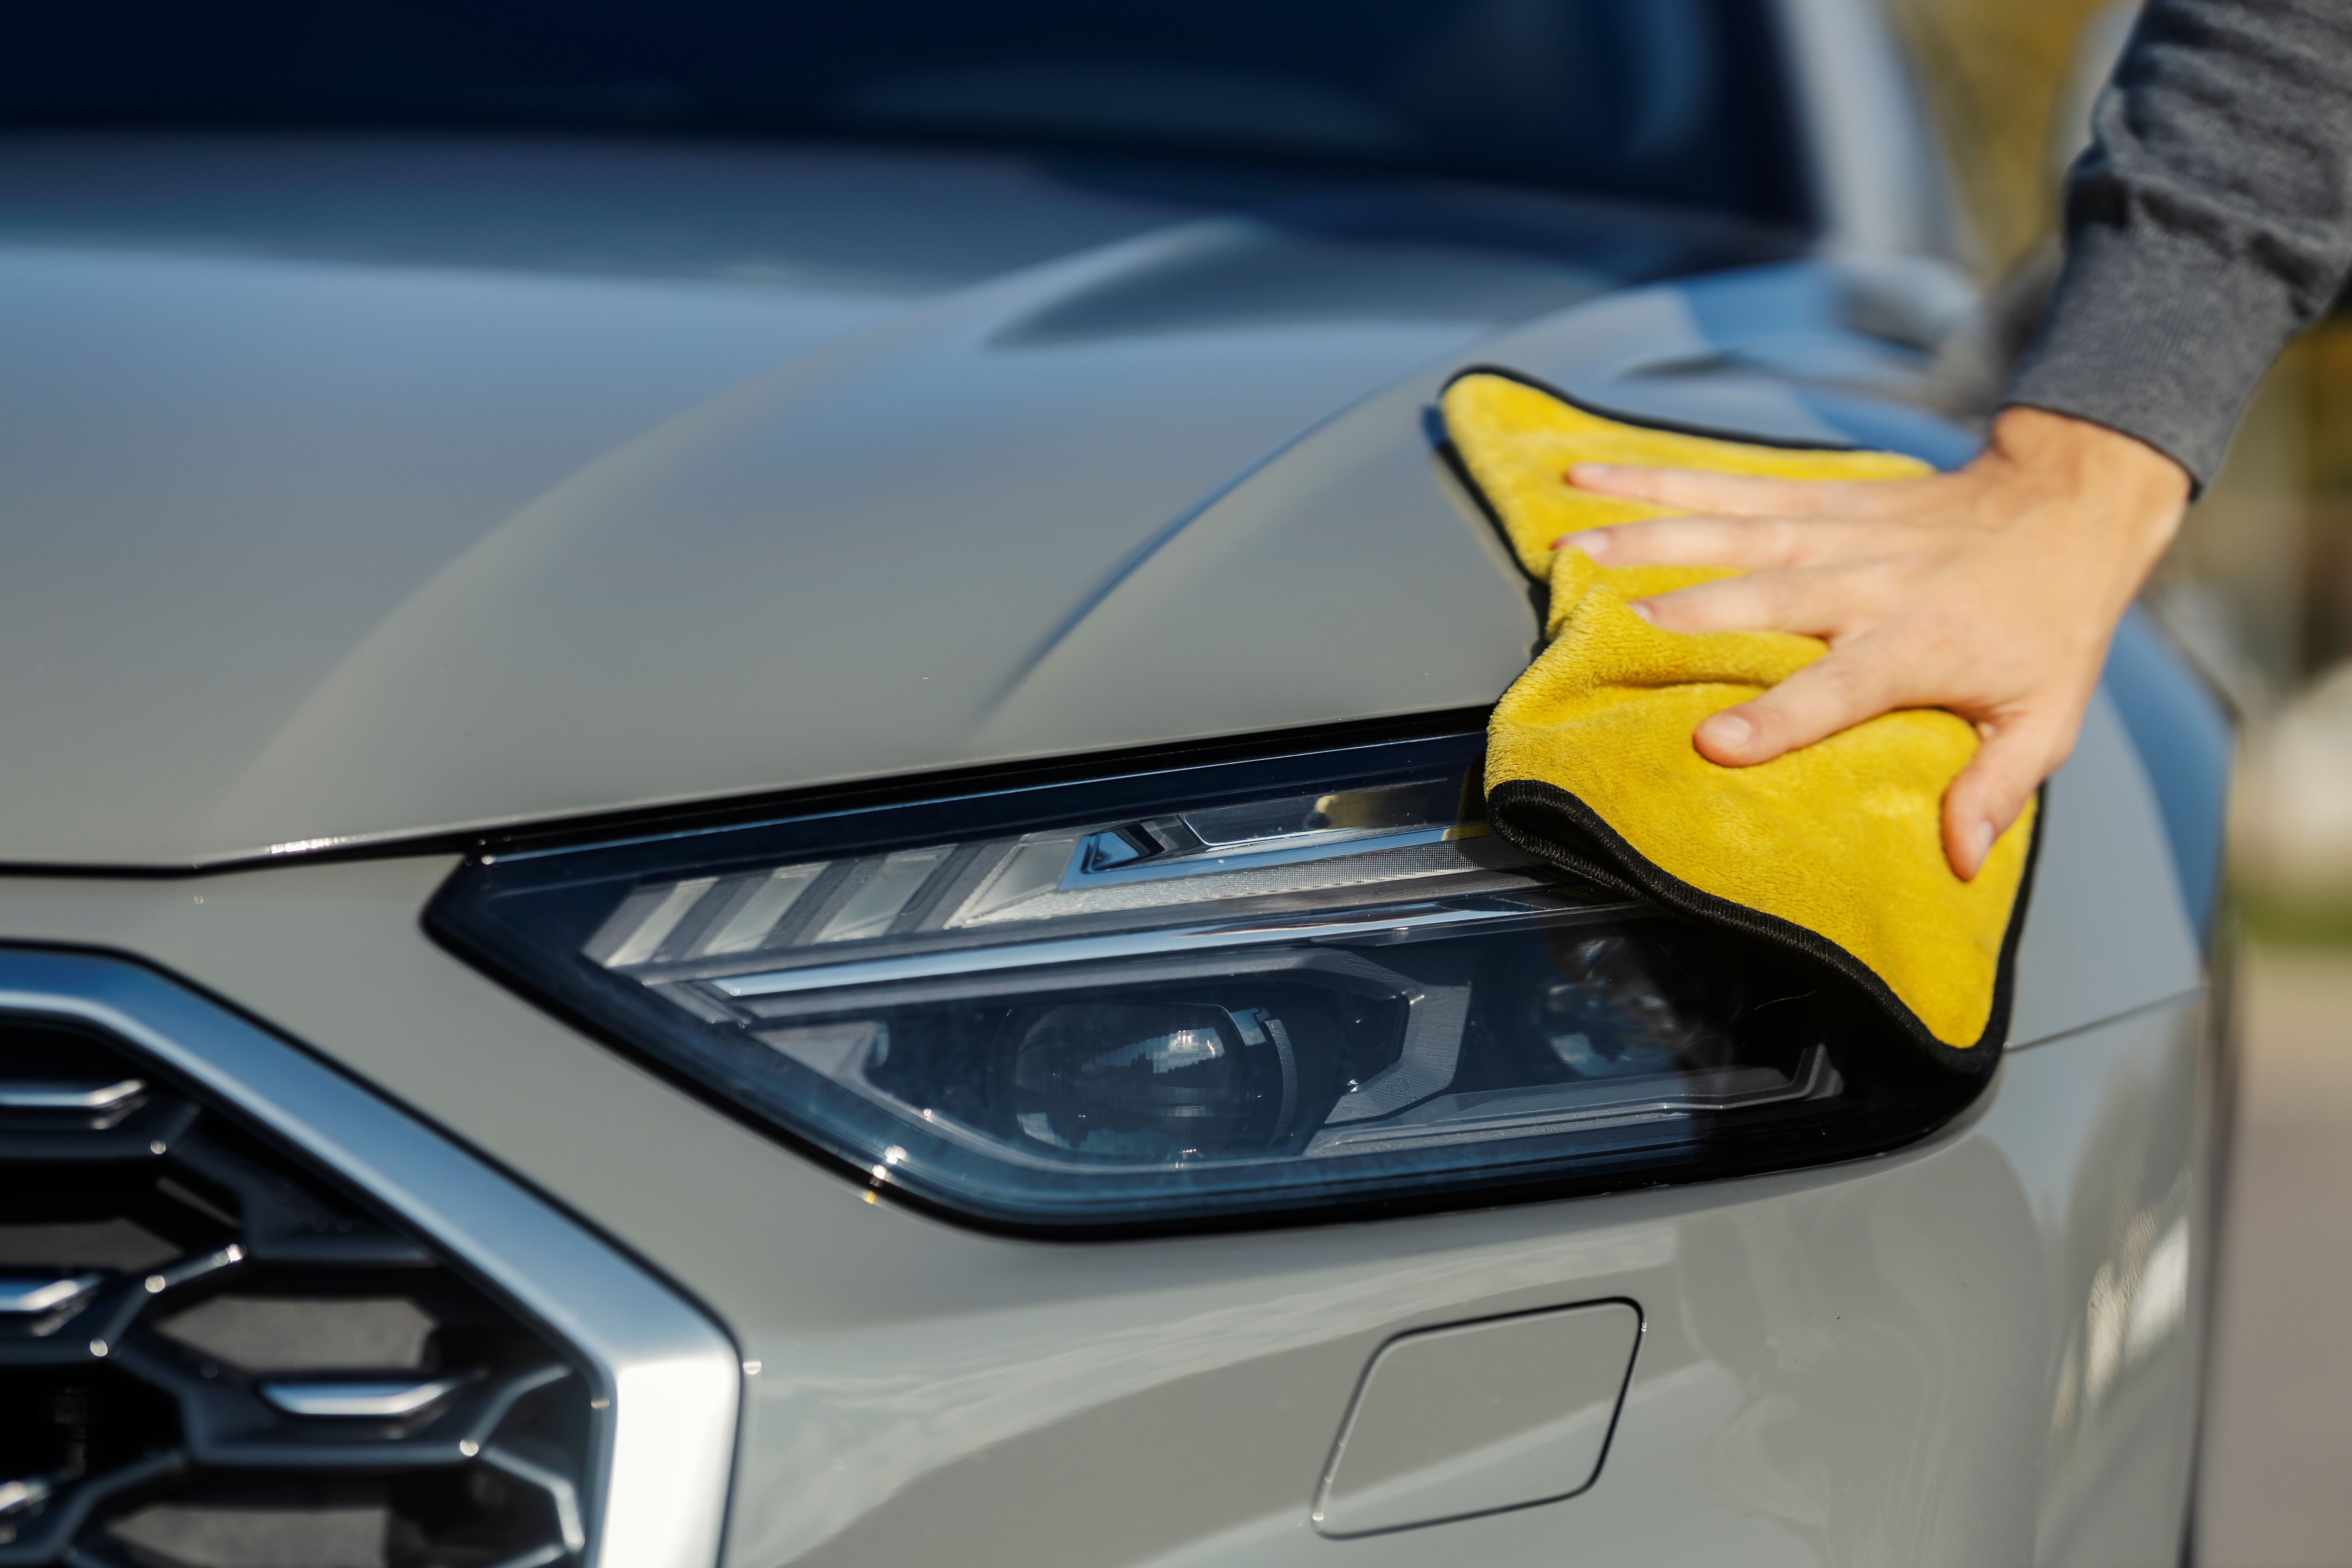
Once washed, it's crucial to dry your car properly to avoid water spots. Use microfiber towels to gently dry the surface, ensuring every last drop of water is removed.
Clay Bar Treatment: A Secret Weapon
For a truly smooth finish, use a clay bar after washing. This step removes embedded contaminants that washing alone can't tackle. Simply glide the clay bar over lubricated paint surfaces to pick up any remaining impurities. This step is vital for preparing the surface for waxing or sealing.
Waxing and Sealing for Lasting Shine
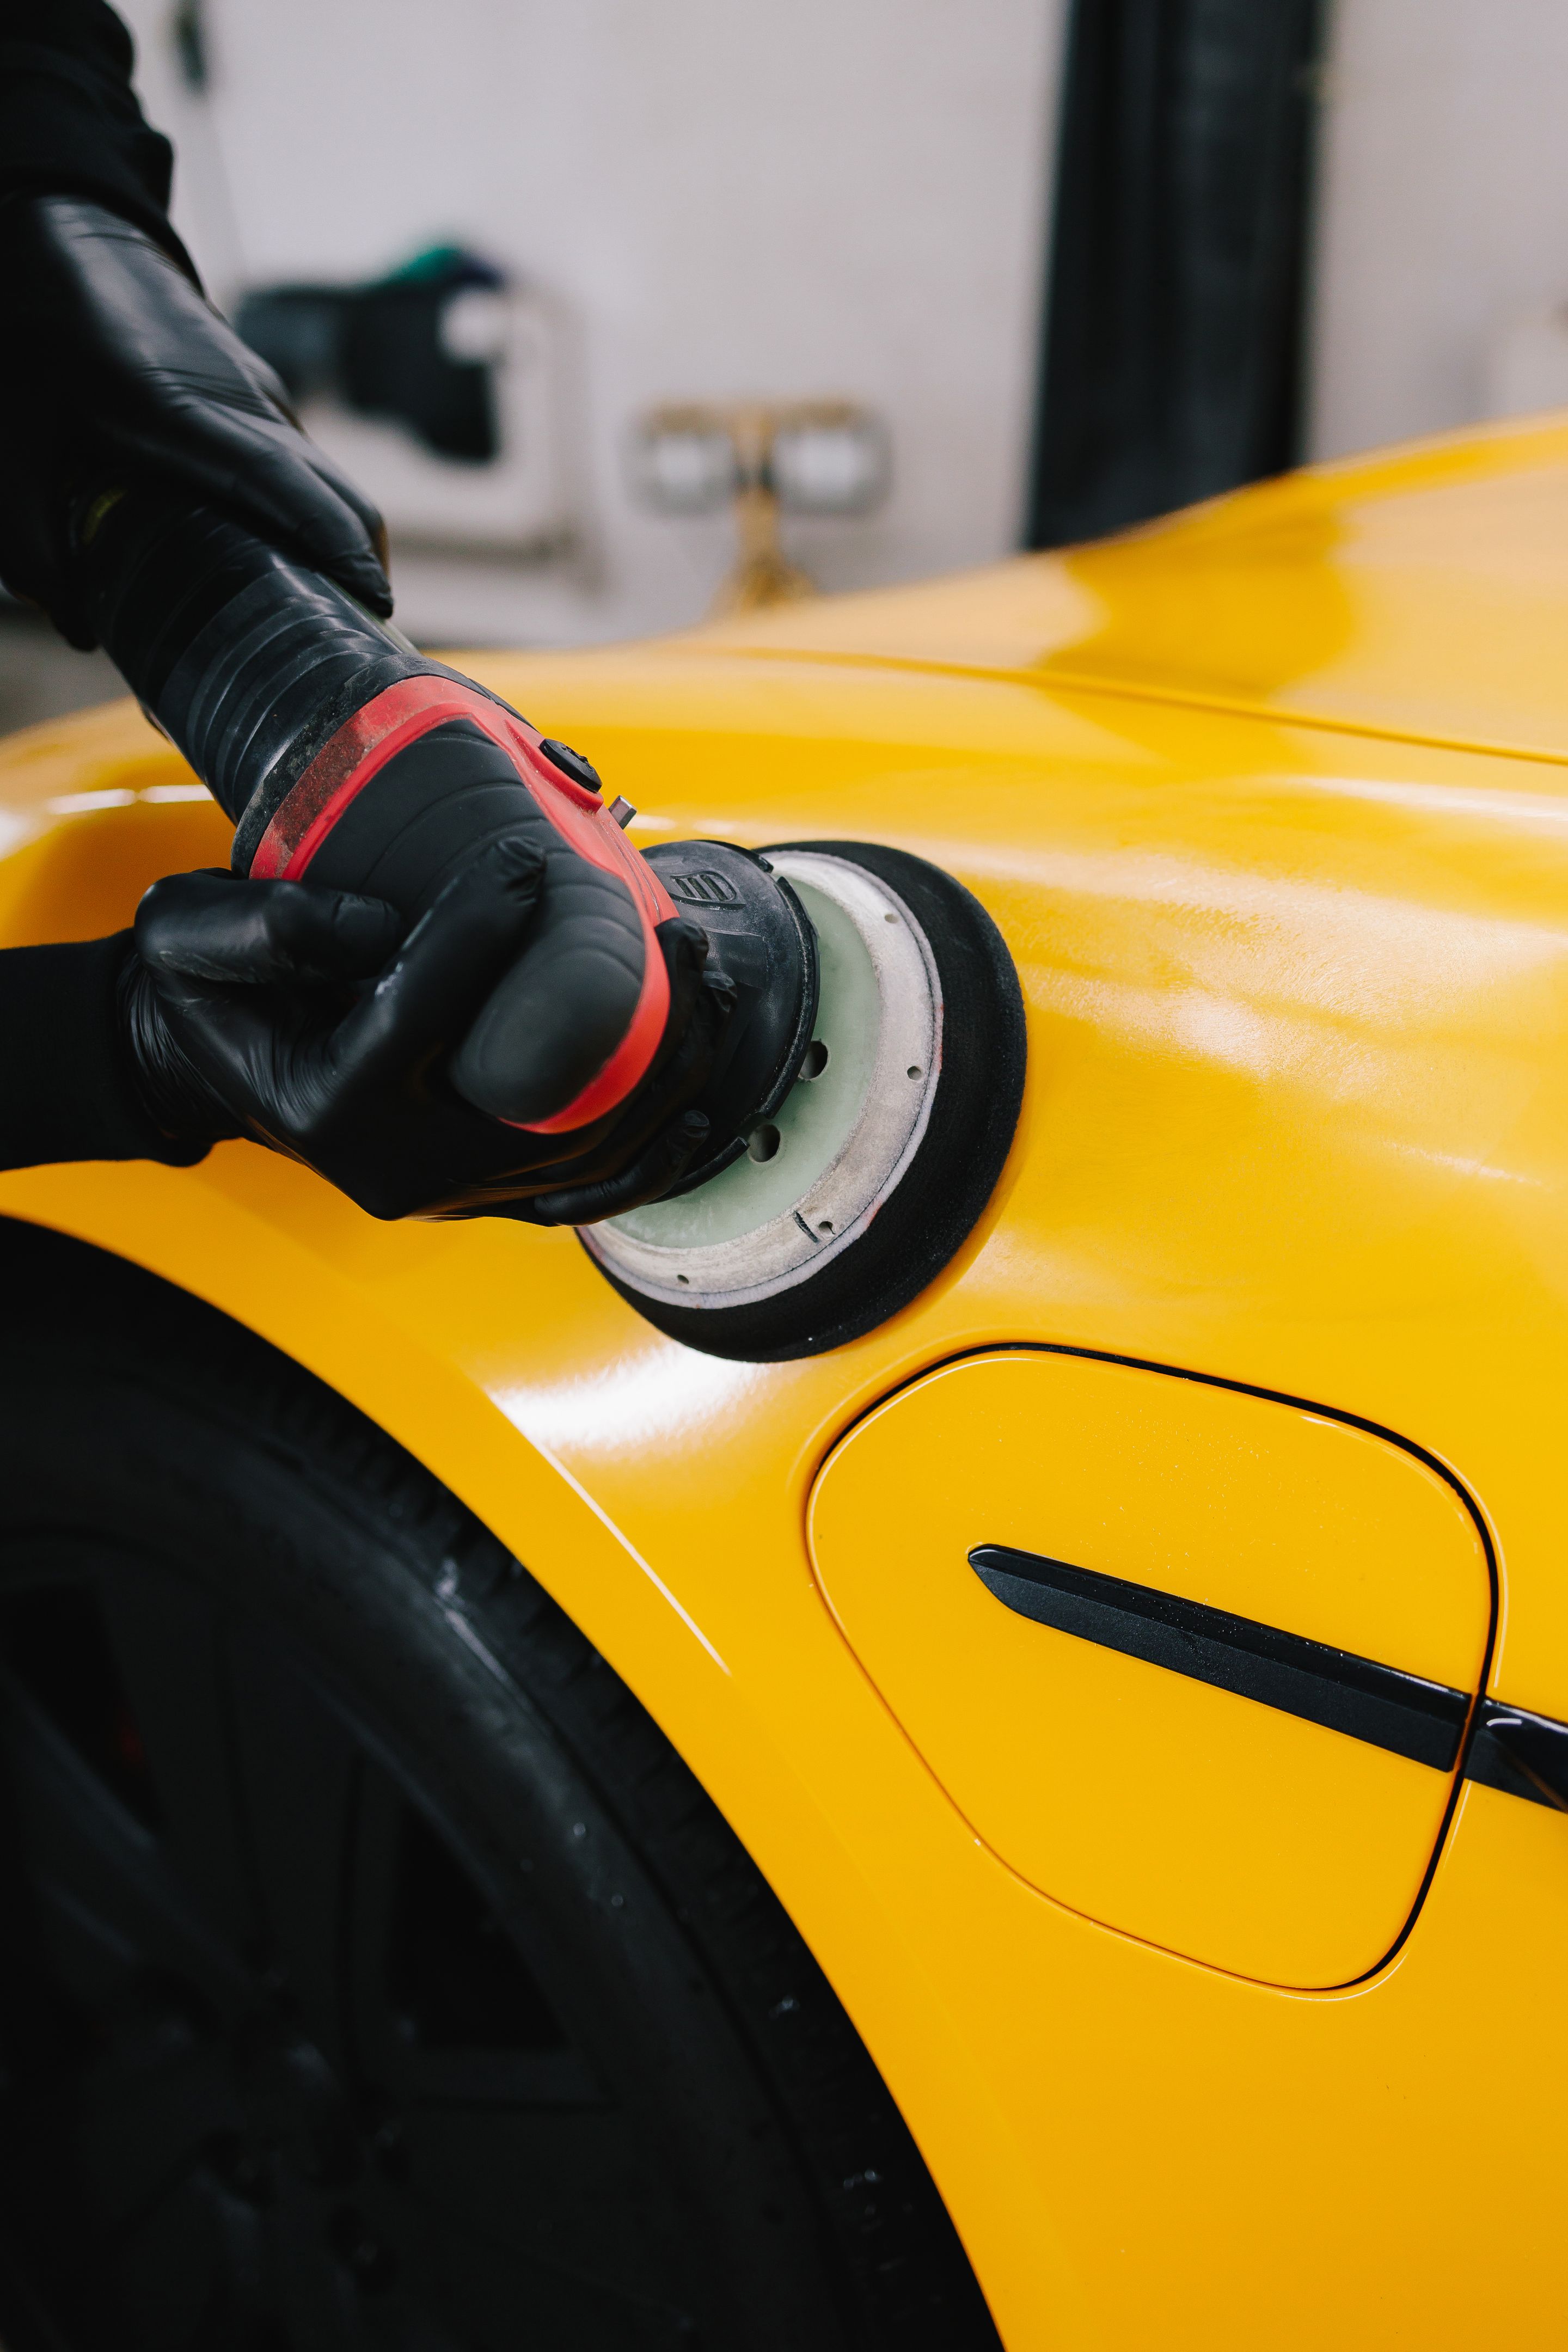
After claying, applying wax or sealant is your next move. Wax gives your car that luxurious shine and protects the paint from environmental factors. Apply in small circular motions using a foam applicator pad, then buff with a clean microfiber towel.
If you're looking for longer-lasting protection, consider using a paint sealant instead of traditional wax. Sealants offer durability and can withstand harsher conditions.
Detailing the Interior
While the exterior gets all the glory, don't neglect your car's interior. Start by vacuuming seats, carpets, and mats thoroughly. Use detailing brushes to get into hard-to-reach areas and vents. For upholstery, use an appropriate cleaner based on the material.
Caring for Leather Surfaces
If your car has leather seats, apply a leather conditioner to keep them soft and supple. This prevents cracking and helps maintain that new-car feel.
Finishing Touches
To wrap up your DIY detailing session, don't forget those final touches. Clean windows with an ammonia-free glass cleaner for streak-free clarity. Apply tire shine to restore that deep black finish to your tires, making them look brand new.
Treating your car to regular detailing sessions not only keeps it looking its best but also helps maintain its value over time. With these professional techniques now at your disposal, you can enjoy a showroom-ready vehicle all year round.